

How to create a smooth draggable list with react in 10 mins
Re-order your lists in a stylish manner with cool effects


Welcome to another tutorial!!
Today, we are going to create a draggable list that you can use in your react applications with ease, using framer-motion. If you go to their examples page on codesandbox , you will see this implemented. In case you want to know how you can do it yourself, read on.
To start, if you have a list of items in a container or div that you want to have your users reorder by just dragging one item over another to swap positions, it's not a hustle since you are in the right place. This is what we are going to build in a few minutes.
Now the code, my favorite part!!
import React from 'react';
import './style.css';

const List = [1, 2, 3, 4, 5, 6];

export default function App() {
  return (
    <div className="container">
      {List.map((n, index) => (
        <Item key={index} name={n} />
      ))}
    </div>
  );
}

function Item({ name }) {
  return <div>{name}</div>;
}
This is a normal react app where you are exporting the main component called App. We have another component below that will be the item in the main we will be dragging. A list that we map to produce our six items in the main app.
For now, our item component is just normal div with no properties to make it interactive, we add the framer motion package since that is what we will be using.
yarn add framer-motion //or
npm i framer-motion
When its done doing it magic, we import it into our file and get the motion element from 'framer-motion'. Then change our normal div in the Item component to motion.div, so we have properties we can use to drag and reorder the item when rendered.
Next, we will have to add the properties we want to use;
- drag- this will allow us drag our div when rendered in the page. This takes in two types, a boolean and string(x or y). When set to true, we can drag the component in both direction, when set to y we can only drag it up or down and x, left or right. For this tutorial we only want our users dragging it either up or down, so we set it to y.
function Item({ name }) {
  return <motion.div drag="y">{name}</motion.div>;
}
This is what the code looks like now. If you dragged the element, you will realise it goes outside our container that the list rendered in. We don't want that, so we need to add constraints to make sure users can only drag within the container.
- dragConstraints - this takes an object of the four sides of the area the item is in, top, bottom, left, right. These accept values as pixels. How far away from the top, bottom, left or right should be the limit, where the component can't be dragged across. If you give it a top of 0, it means the element can only be dragged to the very edge of the top of the parent component, in this case, our container. If you give it a 10, it means it can be dragged up to 10px from the top of the parent component. For our case, we want it to be able to reach the edges and since we are only dragging on the y axis, we only need to take care of the top and bottom.
- dragListeners - One thing we also need to take care of is to know when the item is being dragged and when it is dropped after dragging. This will help us be able to reorder the items very well. When dragging the item, we might want to help the users know by performing some form of animation on the item being dragged by either increasing it in size or decreasing it, just to differentiate that from the other items.
- layout - We will add this property as well to help us animate the item when dragging as it will be changing position i n the list. Framer motion has done a lot of work for us to have these cool stuff. Read more.
- animations - We also might want to add a couple of animations to the item that will be dragged, in our case, we can add the whileHover and whileTap properties or leave it, I ill but you can check the docs later and add. I think the name gives a hint about what each does. When the item is hovered, do this, when the item is tapped or clicked, do that.
- controls - We want to add the various functions that will be called to help us reorder our list when it is dragged from one position to the other. They are updateOrder and updatePosition, and we will use the usePositionReOrder and useMeasurePosition hooks. We don't need to rewrite our own.
What usePositionReorder hook does is reorder our list that is rendered when we drag an item from one position to the other and also updates the position of the item given its new position after the drag event. Use measure position uses the ref of the item to determine its position from where it was dragged from and where it has been placed and its index in the list. This is what it uses to send the data to updatePosition from the usePositionReOrder hook. So it will take data from the item being dragged such as its dragoffset vertically, since we are only dragging along the y axis. This will help the hook swap the item that we are changing positions with the dragged item.
When the item is being dragged, aside from letting the component itself know that it is in a dragging state, we have to let our usePositionReOrder hook know, using another property which is the onViewBoxUpdate prop. This property is a callback that will fire every time the viewport is updated due to a drag activity. And it sends the delta of the item and the index to updateOrder from the usePositionReorder hook. The list is reordered and sent back to us in the orderedList and a new list is rendered into our view.
Our code finally looks like this
import React from 'react';
import './style.css';
import { motion } from 'framer-motion';
import { usePositionReorder } from './usePositionReorder';
import { useMeasurePosition } from './useMeasurePosition';
const List = ["Item One", "Item Two", "Item Three", "Item Four"];
export default function App() {
const [updatedList, updatePosition, updateOrder] = usePositionReorder(List);
return (
<ul className="container">
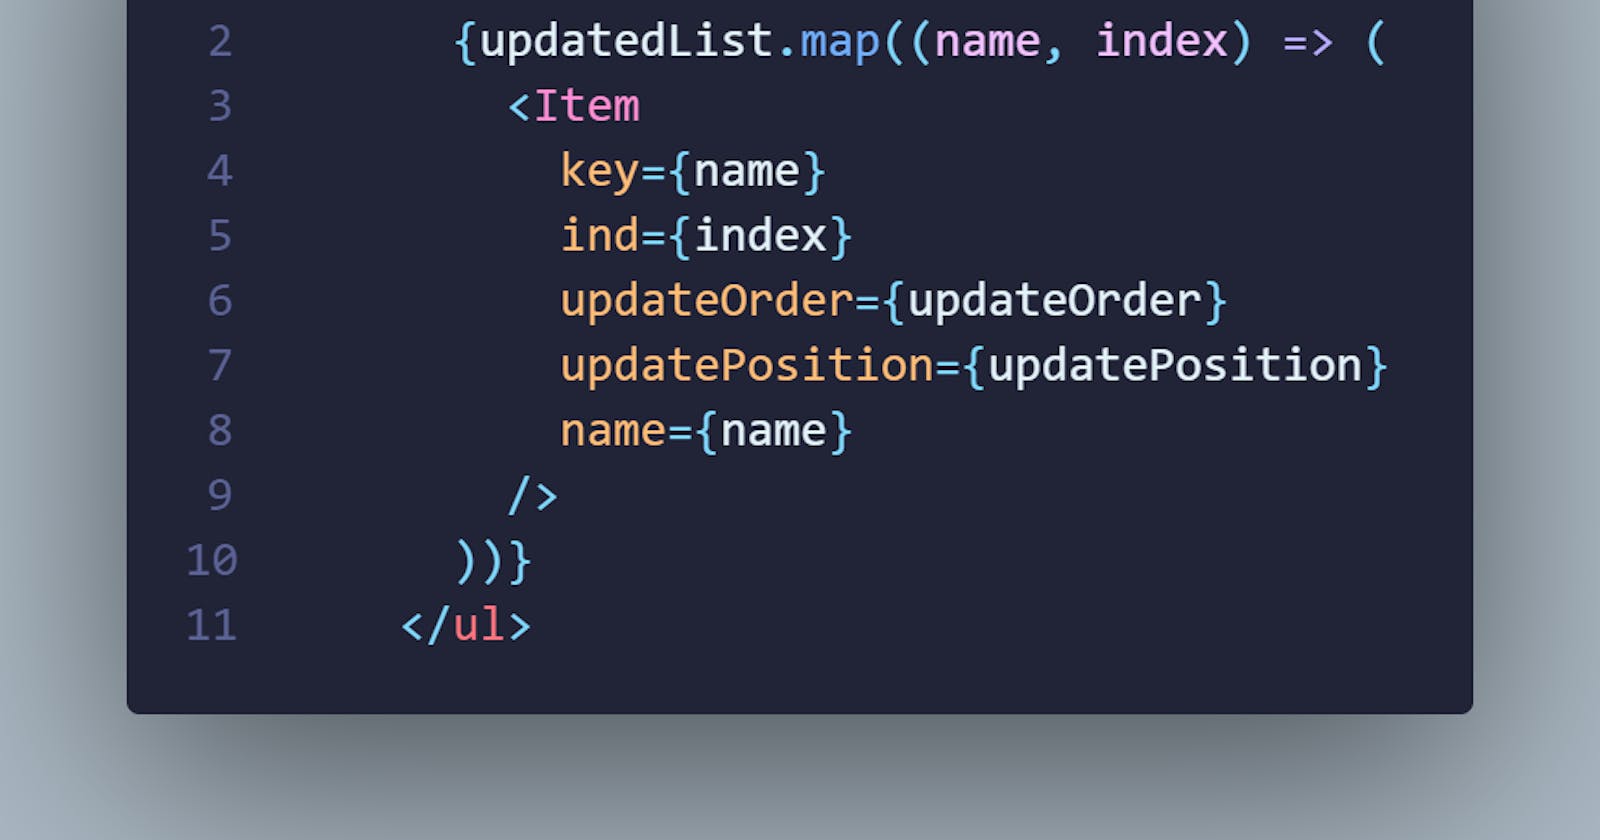
{updatedList.map((name, index) => (
<Item
key={name}
ind={index}
updateOrder={updateOrder}
updatePosition={updatePosition}
name={name}
/>
))}
</ul>
);
}
function Item({ name, updateOrder, updatePosition, ind }) {
const [isdragged, setIsDragged] = React.useState(false);
const itemRef = useMeasurePosition(pos => updatePosition(ind, pos));
return (
<li>
<motion.div
style={{
zIndex: isdragged ? 2 : 1,
height: name.length * 10
}}
dragConstraints={{
top: 0,
bottom: 0
}}
dragElastic={1}
layout
ref={itemRef}
onDragStart={() => setIsDragged(true)}
onDragEnd={() => setIsDragged(false)}
animate={{
scale: isdragged ? 1.05 : 1
}}
onViewportBoxUpdate={(_, delta) => {
isdragged && updateOrder(ind, delta.y.translate);
}}
drag="y">
{name}
</motion.div>
</li>
);
}
When clicking to drag the items in the list, you will realize they are a bit hard to drag from one end to the other. We can add the dragElastic property of 1 to make it smoother.
Now this is our look
The possibilities are endless, so go ahead and build something with it. A link to the repo to view the entire code and live. And explore more with framer motion here
Till next time..